
The first transfer switch I ever wired took me almost four hours, and honestly about ninety minutes of that was me second-guessing myself. Twelve years and a few hundred installs later, I can tell you the job is far more logical than it looks when you’re staring at a fresh box of wires for the first time.
Most homeowners think the mystery is inside the switch. It isn’t. The switch is just a set of controlled connections. The part that actually matters is understanding which circuits you’re feeding, where the power comes from, and why the neutral and ground rules exist.
So let’s walk through it the way I’d explain it to a customer standing in their garage, coffee in hand, watching me pull covers off panels.
Key takeaways
- A transfer switch moves selected circuits between utility power and generator power so the two sources never touch.
- Most residential switches carry the two hot legs and a neutral; grounding stays bonded at the main panel only.
- Match your inlet plug and cord to your generator’s outlet (an L14-30 is the common 30-amp choice).
- Backfeeding through a dryer outlet is illegal and can kill a lineman. Use a real switch.
What transfer switch wiring actually connects
At its core, transfer switch wiring is about giving a handful of your home’s circuits two possible power sources and making sure only one is live at a time. That “only one at a time” part is the whole reason the device exists.
On a typical manual switch, you’ll see paired breakers or toggles. Each one can point at utility (LINE), off, or generator (GEN). Flip it to GEN and that circuit now pulls from your portable unit instead of the grid.
If you’re still fuzzy on how the device fits into the big picture, I’d read our complete guide to transfer switches alongside this one. This article stays focused on the wiring itself.
The wires you’ll be handling
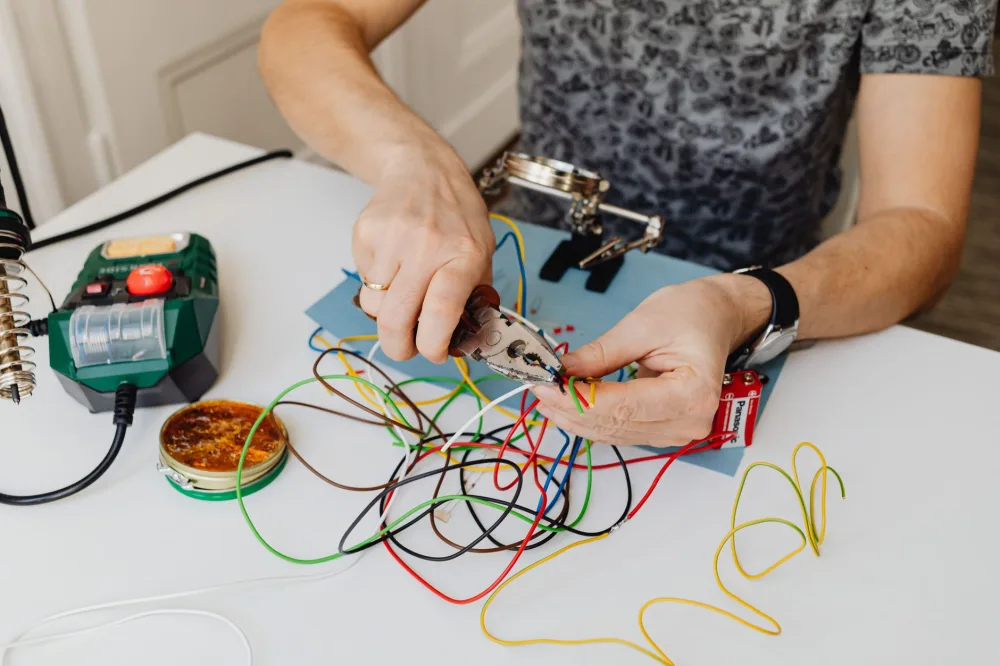
Don’t let the tangle intimidate you. A standard 120/240V portable setup uses four conductors, and each has one job.
Hots, neutral, and ground
You’ve got two hot legs, usually black and red, each carrying 120 volts. Together they give you 240 volts for big loads like a well pump or water heater.
The white neutral is your return path, and the green or bare ground is your safety path. They look similar in function to a beginner, but treating them as interchangeable is a mistake I see all the time. They are not the same, and the code rules around them differ.
Neutral and ground bond together in exactly one place: your main service panel. Adding a second bond at the transfer switch or generator can put current on metal that should never be energized. When in doubt, stop and call an electrician.
Matching the cord and inlet
The power inlet box on your wall has to match your generator’s outlet. For a 30-amp portable, that’s almost always an L14-30, a twist-lock four-prong connector rated for two hots, a neutral, and a ground.
Buy the wrong cord and nothing lines up. I keep a chart in my van for this exact reason, and our rundown of generator cord and plug types covers the ones you’ll actually run into.
How the power flows, step by step
Here’s the path electricity takes on a portable hookup, start to finish. Reading it once makes the wiring diagram click.
- Generator produces 120/240V and sends it out through its L14-30 outlet.
- A rated cord carries it to the inlet box mounted on your exterior wall.
- From the inlet, wires run into the transfer switch.
- You flip the selected circuits from LINE to GEN.
- Those circuits now draw from the generator; the utility side is physically isolated.
That isolation is the safety feature. When your circuits are on GEN, they cannot push voltage back onto the utility lines. That protects the line crews working to restore your power during a storm.
Sizing the switch to the load
Wiring a switch is pointless if it can’t carry what you’re asking it to. On a job last winter, a homeowner had bought a 30-amp kit but wanted to run a 5-ton central AC. That draws far more than 30 amps on startup, so the plan was dead on arrival.
Pick your critical circuits first, then add up the load. A 7,500-watt generator on 240 volts gives you roughly 31 amps to work with, which comfortably covers a fridge, furnace blower, some lights, and a few outlets.
| Generator output | Approx. amps at 240V | Typical circuits it covers |
|---|---|---|
| 3,500 W | ~14 A | Fridge, a few lights, phone chargers |
| 5,000 W | ~20 A | Above plus furnace blower |
| 7,500 W | ~31 A | Above plus well pump or sump |
| 10,000 W | ~41 A | Above plus a 240V water heater on a light load |
If matching watts to circuits feels shaky, our walkthrough on sizing a generator for your home takes it slower with real examples.
Where beginners get into trouble
The wiring itself rarely bites people. The judgment calls do.
The single most dangerous shortcut is a “suicide cord,” a double-male cable jammed into a dryer outlet to backfeed the panel. It’s illegal, it exposes live prongs, and it can send lethal voltage down the utility line. The U.S. Consumer Product Safety Commission has warned about this for years, and I’ve seen the aftermath. Don’t do it.
Another common snag is confusing a transfer switch with a service disconnect. They sit in similar spots and both cut power, but they do different jobs. Our piece on the difference between a service disconnect and a transfer switch clears that up in a couple minutes.
Label every circuit on the switch cover with a paint pen before you finish. When the power’s out at 2 a.m. and you’re working by flashlight, “FURNACE” beats guessing at breaker 4.
Should you wire it yourself
Plenty of handy homeowners can install a manual transfer switch, but “can” and “should” depend on your local code and your comfort inside a live panel. Many areas require a permit and inspection, and some require a licensed electrician outright.
Before you commit, honestly read through whether you should install a transfer switch yourself. The federal energy office also publishes solid guidance on emergency home power worth a look before you buy anything.
Your next move before the next outage
Start with a load list, not a shopping cart. Write down the circuits you truly need during an outage, add up the watts, and let that number pick your generator and switch size, not the other way around.
Then get your cord and inlet matched, and if the panel work makes you sweat even a little, hand that part to a pro. Once it’s in, put it on a schedule with our generator maintenance checklist so it starts on the day you actually need it.