I got a call two winters ago from a guy in Fort Wayne whose generator was running fine but nothing in the house would turn on. Turned out he’d bought a cord off a big-box shelf that ended in the wrong plug for his inlet box. Brand new generator, brand new transfer setup, and a $60 cord that fit nothing.
That kind of thing happens more than you’d think. The generator, the cord, and the inlet all have to speak the same language, and that language is written in little letters and numbers stamped on the plug.
So let’s sort out the generator power cord types you’ll actually run into, what those codes mean, and how to buy the right one the first time.
Key takeaways
- The L14-30 is the most common cord for whole-home hookups on 30-amp, 240-volt generators.
- Read the plug code: the letter tells you locking vs. straight, and the numbers tell you amps and how many wires.
- Match the cord’s amp rating to your generator outlet, then size the wire gauge for the length of the run.
- Never use a “suicide” male-to-male cord to backfeed your house through a dryer outlet.
How to read a generator plug code
Almost every plug you’ll touch follows a NEMA naming pattern, and once you crack the code it stops being intimidating.
Take L14-30. The “L” means locking (you push and twist, and it won’t shake loose). No “L” means a straight blade that just pulls out. The “14” is the configuration, in this case four wires: two hots, a neutral, and a ground, which gives you 120 and 240 volts. The “30” is the amp rating.
So an L5-30 is a locking, three-wire, 120-volt, 30-amp plug. An L14-30 is locking, four-wire, 120/240-volt, 30-amp. Same twist-lock family, very different capability.
Snap a phone photo of the outlet on your generator before you shop. The configuration is molded right into the rubber near the prongs, usually something like “L14-30R.” The “R” means receptacle; “P” means plug.
The letters and numbers, plain
- L = twist-locking. No L = straight blade.
- First number = the blade layout, which sets the voltage and wire count.
- Second number = the amp rating (usually 20, 30, or 50).
- P = plug (male). R = receptacle (female).
The generator power cord types you’ll actually see
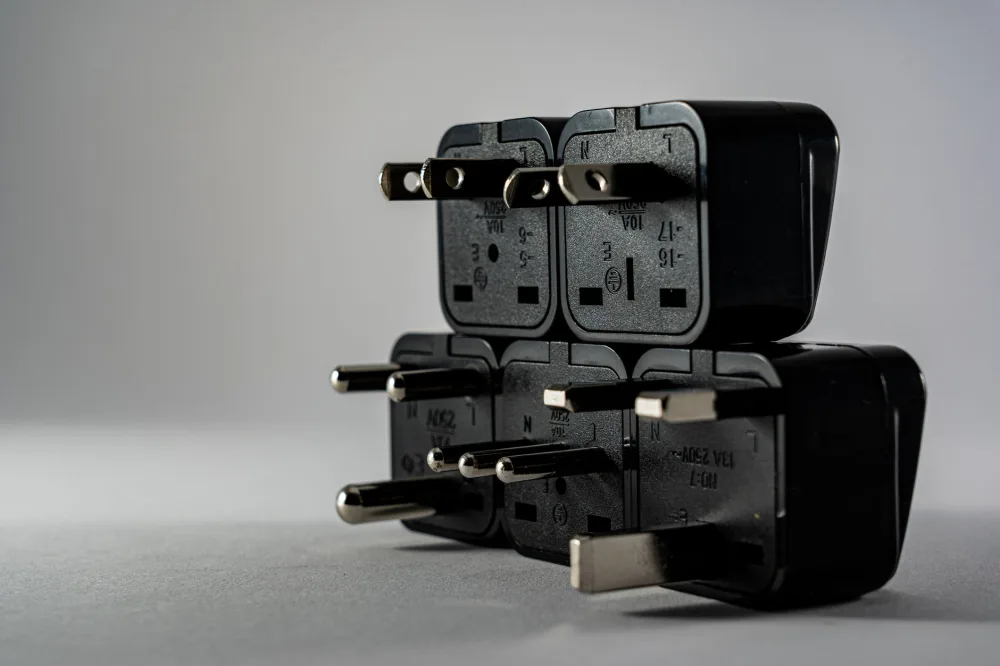
There are dozens of NEMA configurations, but for home backup you really only bump into a handful. Here’s the short list that covers maybe 95% of the driveways I’ve worked in.
| Cord / plug | Volts | Amps | Wires | Typical use |
|---|---|---|---|---|
| L14-30 | 120/240 | 30 | 4 | Whole-home via transfer switch or inlet, up to 7,500W |
| L14-20 | 120/240 | 20 | 4 | Smaller 240V generators, ~5,000W |
| L5-30 | 120 | 30 | 3 | 120V-only generators, RV-style loads |
| TT-30 | 120 | 30 | 3 | The “RV plug,” common on mid-size units |
| 14-50 | 120/240 | 50 | 4 | Big portables and dual-fuel, 10,000W and up |
If you have a 240-volt portable in the 5,000 to 7,500 watt range, odds are very high it wears an L14-30 outlet. That’s why that cord sits on every hardware store shelf. It pairs naturally with a 30-amp inlet box feeding a manual transfer setup, which I break down in our walkthrough on how transfer switches work.
Matching the cord to your generator and your house
The cord has two ends, and both have to fit. One end plugs into the generator outlet, the other into your inlet box on the wall. Buy a cord where both ends match what you already own, not what looked beefy on the shelf.
A quick real example. A 7,000-watt generator at 240 volts pulls roughly 29 amps at full tilt. A 30-amp L14-30 cord handles that with a hair of margin. Push a 10,000-watt unit through that same 30-amp cord and you’re overloading it, which is why the bigger machines come with a 14-50.
Not sure how much generator your house even needs? Work that out first with our guide on sizing a generator for your home, because the wattage decides the cord, not the other way around.
Wire gauge and cord length
Length matters more than folks expect. A longer run drops voltage, and thin wire makes it worse. For a 30-amp cord I want 10-gauge copper on runs up to about 25 feet, and I’d step to 8-gauge if I’m reaching 50 feet or more.
A mistake I see all the time is somebody daisy-chaining two 25-foot cords to reach the far side of the driveway. Don’t. Buy one cord the right length, keep the generator at least 20 feet from the house per the manual, and skip the extension-of-an-extension routine.
The one wiring shortcut that can kill you
I have to say this plainly. Do not buy or build a cord with a male plug on both ends to feed power back through your dryer or range outlet. Electricians call it a “suicide cord,” and the name is not a joke.
Two things go wrong. The exposed male prongs on the generator end are live and can shock or electrocute you. And with no transfer switch isolating your house, power can backfeed onto the utility line and injure a lineman working to restore your neighborhood.
The U.S. Consumer Product Safety Commission has tied hundreds of deaths to unsafe generator use. Always connect through a proper inlet and transfer switch. See the CPSC portable generator safety center and the carbon monoxide guidance at Ready.gov.
The right path is an inlet box wired to a transfer switch. If you’re weighing doing that work, read whether you can install a transfer switch yourself and the difference between a manual and automatic transfer switch before you commit.
A quick buying checklist before you pay
Before that cord goes in the cart, run down this list. It takes two minutes and saves the Fort Wayne mistake.
- Generator outlet code matches one end of the cord (photo it, don’t guess).
- Inlet box code matches the other end.
- Amp rating meets or beats your generator’s running watts.
- Wire gauge is right for the length: 10-gauge to 25 ft, 8-gauge beyond.
- Cord is rated for outdoor use and has a molded, weather-resistant boot.
- Both ends lock or seat fully with no wiggle.
Where to go from here
Nail down two numbers and you’re set: your generator’s outlet code and its running wattage. Those tell you exactly which cord to grab, and for most 240-volt portables that answer is a 10-gauge L14-30 in the length that reaches your inlet.
Get the cord sorted, then keep the whole system healthy with our generator maintenance checklist so the thing actually starts the night you need it. Match the plug, size the wire, skip the shortcuts, and you’ll never be the guy standing in a dark kitchen holding a cord that fits nothing.